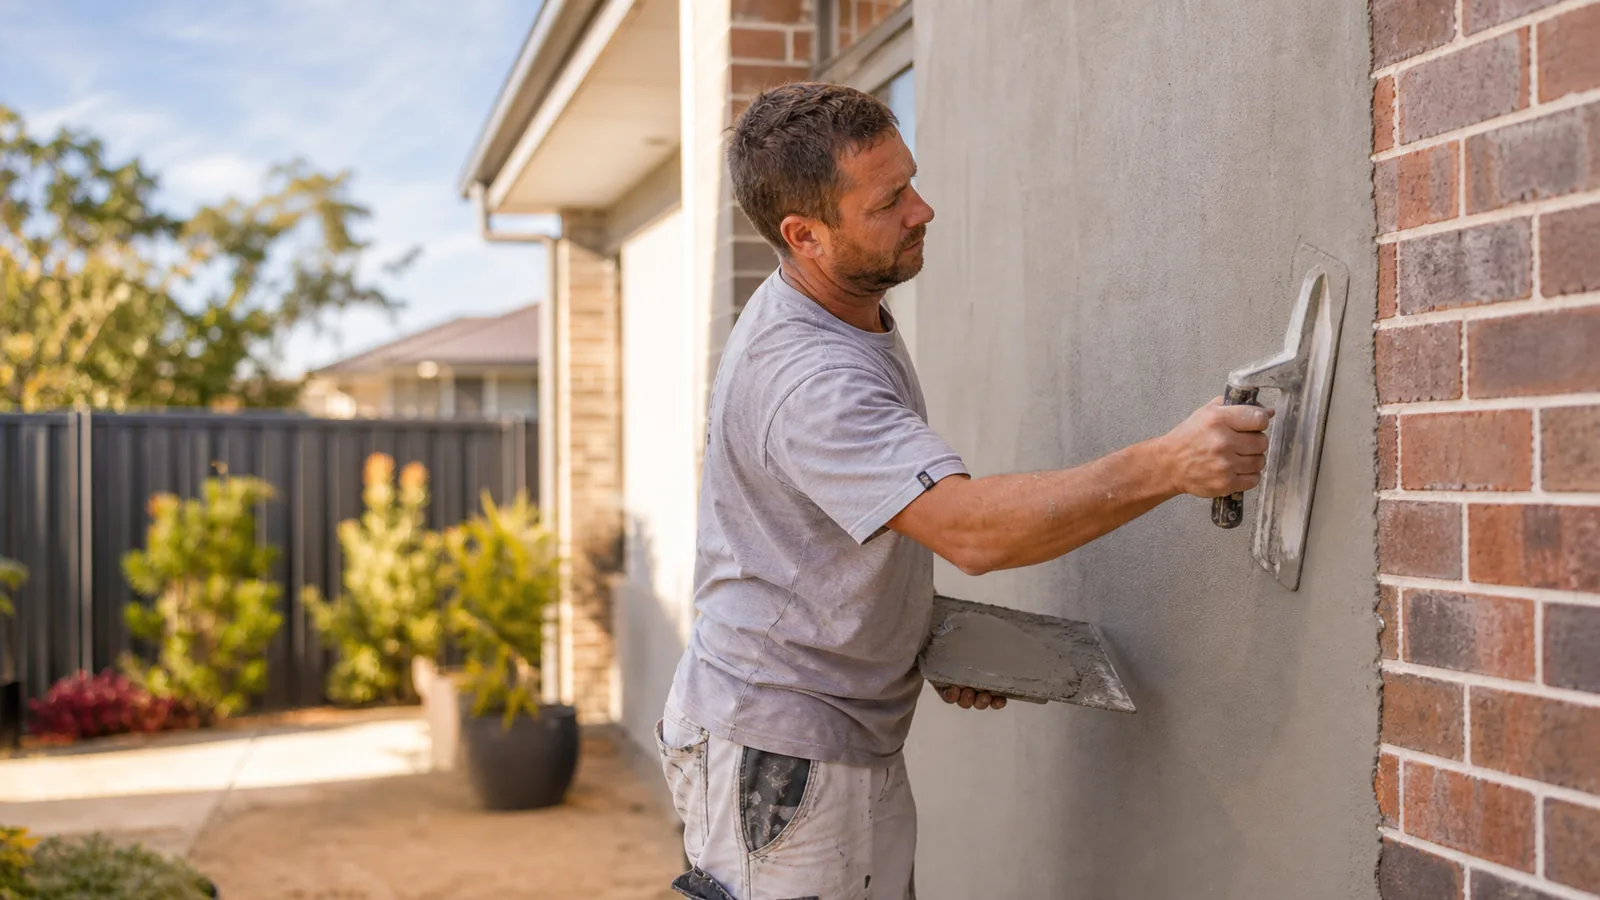
Colour is only one part of a matching patch
A render patch can stand out for several different reasons. Its colour may be slightly different, the grain may be finer, the surface may reflect light differently, or the patch may sit proud of the surrounding wall. Calling all of those problems a colour mismatch leads to frustrating repairs: another coat of the same paint cannot correct every difference. Start by identifying what you actually notice from the places where you normally view the wall.
Look at the physical shape first. A repair that rises slightly above the old surface can cast a small shadow when light runs along the wall. A shallow depression can do the opposite. If that outline remains visible when the wall is evenly coloured, the issue may be the transition in plane rather than the paint. Ask the renderer to inspect it before deciding that a darker colour will hide the patch.
Next, compare texture. A fine sanded surface, a rolled texture and a trowelled aggregate finish can have similar colour but different patterns. The original application technique matters as well as the product name. Ask whether the existing finish can be identified from retained documents, a protected area or a sample. A contractor may need to make a trial rather than promise an exact match from a photograph on a phone.
Finally, compare colour and sheen after the sample has reached the condition specified for assessment. A fresh coating beside an aged surface may look different even when both use the original colour name. In a Bendigo home with a sheltered porch and an exposed side wall, the same recorded colour can present differently in each location. Identify which part of the existing surface the repair is intended to match.
Approve a sample that answers the real question
A useful sample includes the proposed texture and final coating, not just a dab of tinted paint on smooth cardboard. Ask where it will be made and whether it will remain part of the work. It should be large enough to show the application pattern and the transition you are concerned about. Agree the sample arrangement before work begins so it does not create an unexpected patch in a prominent position.
For colour selection, compare the sample beside materials that will remain: window frames, brick returns, gutters and paving. Those fixed elements influence how the finish reads. If the surrounding wall is dirty or chalky, ask the contractor how it will be prepared before matching. Matching an unprepared surface and then cleaning the whole elevation can change the reference you were trying to reproduce.
The Dulux trade texture range distinguishes products and application effects rather than treating all textured finishes as interchangeable. When a renderer proposes a substitute for an unavailable original product, ask to see the result. A similar description on a container is a starting point for a sample, not evidence that the repaired wall will look identical.
Inspect the sample at the wall, not only in a progress photo. Camera processing, the angle of the photograph and your screen can all affect your judgement. Walk back to the usual viewing position and look again from the side. If someone else in the household will approve the final finish, include them now. Record the accepted product, colour, texture and sample location so there is a shared reference at completion.
Choose between a local patch and a whole-panel finish
The repair area and the finish area do not have to be the same size. Damaged render may be removed and reinstated locally while the final coating extends across a sound surrounding panel. That can reduce the contrast between old and new colour without removing material that is still serviceable. Ask for these operations to be described separately. Otherwise a quote for “repair and blend” leaves the most visible decision undefined.
A local finish may be reasonable on a discreet side wall where you accept some visibility, or where a natural edge keeps the repaired area visually separate. The question is whether the result meets your expectation for that location. A patch near a front door is seen at close range every day; a patch behind a downpipe is viewed differently. Explain how the wall is used rather than asking for a universal rule.
A whole-panel recoat can create a more consistent colour, but it is not automatically a texture correction. If the patch has a different surface relief, painting across the panel may leave its outline visible. The renderer should explain whether additional preparation or texture work is needed before coating. Do not approve a larger paint area on the assumption that paint will remove every visible difference in the underlying finish.
Natural boundaries can include corners, returns, deliberate joints and changes of material. A straight masking line across the middle of an otherwise continuous wall may remain noticeable. Ask where the proposed coating stops and why that position was chosen. On a Strathdale frontage with multiple recessed sections, it may be possible to treat one complete architectural element while retaining the rest. That should be judged from the actual elevation.
| Option | Useful when | Limitation to discuss |
|---|---|---|
| Local patch finish | The affected area is discreet and some variation is acceptable | Old and new texture or colour may remain visible |
| Patch plus panel recoat | The substrate is sound but colour continuity matters | Different surface relief can still show |
| Broader texture renewal | Multiple repairs interrupt a prominent wall | Needs a suitable underlying surface and a defined system |
Judge the finished wall under useful conditions
Choose normal viewing positions before arguing over the final surface. The front path, driveway and outdoor seating area may each reveal different aspects of the wall. A close-up inspection is useful for edges and defects, but a facade also needs to be assessed as a whole. Agree both perspectives with the contractor. This is especially helpful when a small repair sits in a large uninterrupted area.
Side lighting makes shallow variations easier to see. A wall may look uniform in diffuse light and show the patch outline later when light runs across it. That does not by itself identify whether the work is defective, because the agreed finish and existing wall condition matter. It does mean the sample should be assessed under the conditions important to you before the whole repair is finished.
Do not judge colour while part of the surface is wet or still changing after application. Ask the contractor when the selected system can be assessed, and what information supports that timing. The answer should relate to the products and conditions on your wall. A fixed waiting period copied from an unrelated project is not a useful substitute. Arrange the completion inspection accordingly.
If you are reviewing a repair remotely, ask for an overall view, a close view and a side-lit view, with the same wall visible as reference. Photographs can help organise the discussion, but should not be presented as proof of a perfect match. Where the appearance is important and uncertain, hold the approval until you or a nominated person can see the actual finish. Put that arrangement into the job scope.
Write down an outcome the contractor can price
Start the brief with the reason for the repair: removed fitting, window replacement, impact damage or an assessed surface failure. State whether the underlying cause has already been resolved and by whom. Matching a finish is a separate step from diagnosing an active crack or damp wall. For those conditions, begin with the render repair assessment rather than choosing a texture first.
Describe the appearance you will accept in plain language. For example, you may want a consistent colour across the front panel while accepting the existing wall's slight unevenness. Or you may prefer a discreet local repair without refreshing the wider facade. These are different scopes. Ask the renderer to explain any expectation that the current surface cannot reasonably meet before the work is booked.
If the quote includes recoating, ask for preparation and product compatibility to be addressed. Dulux's render refresh guidance includes cleaning and surface preparation before painting. The preparation needed on your wall depends on its existing condition and chosen coating. A sound patch next to peeling old paint does not create a stable finish simply because both receive a new colour.
Keep the finish record after completion. Note the product range, colour reference, texture and the areas treated, and retain supplier documents or labelled remnants where practical. A future repair will still need assessment, but this information reduces guesswork. If you later attach a light or replace a downpipe, share the record with the person doing the work so the making-good discussion starts with the correct surface.
Questions about blending render repairs
Can an exact colour code guarantee an invisible patch?
No. The code identifies a colour selection, but the appearance also depends on texture, sheen, application and the surrounding surface. A matching code is useful evidence for choosing a sample. It is not a substitute for assessing the sample against the existing wall. Ask what variation is expected and whether a full-panel finish would better meet your priority.
Should I use leftover paint from the original job?
Tell the contractor you have it and show the label, storage history and condition. It may help identify the original system, but suitability for use needs checking. Even an appropriate retained coating may contrast with the weathered wall. Treat it as useful project information rather than a guarantee that the colour decision has already been solved.
Will adding more texture hide an uneven patch?
It may change the appearance, but it can also make the repaired area coarser than the rest. Ask the renderer to distinguish a flatness problem from a texture problem. The proposed correction should address the actual difference. A sample is particularly valuable when the repair has already been attempted and further layers would change the surface again.
Is a whole-house recoat necessary for one repair?
Not automatically. Start with the smallest sensible architectural boundary and compare the result you want with the existing condition. A whole panel may provide an acceptable finish without treating unrelated elevations. If a much broader scope is proposed, ask which additional defects or appearance requirements justify it. That keeps the choice tied to your wall rather than a standard package.